Not all that long ago – in 2019 to be precise – there were approximately 1.3 million licensed attorneys in the United States. Of those, more than 170,000 were licensed in California. That meant there were 43,000 licensed lawyers for every 10,000 California residents at the time.
Without a detailed breakdown by practice area, it’s impossible to say how many of those attorneys did (or still do) practice personal injury law. But it’s a good bet a lot of them are still doing so. It’s also a good bet that if you find their websites, you’ll also find detailed blog posts about, “what to do after an accident,” or the importance of documenting an accident.
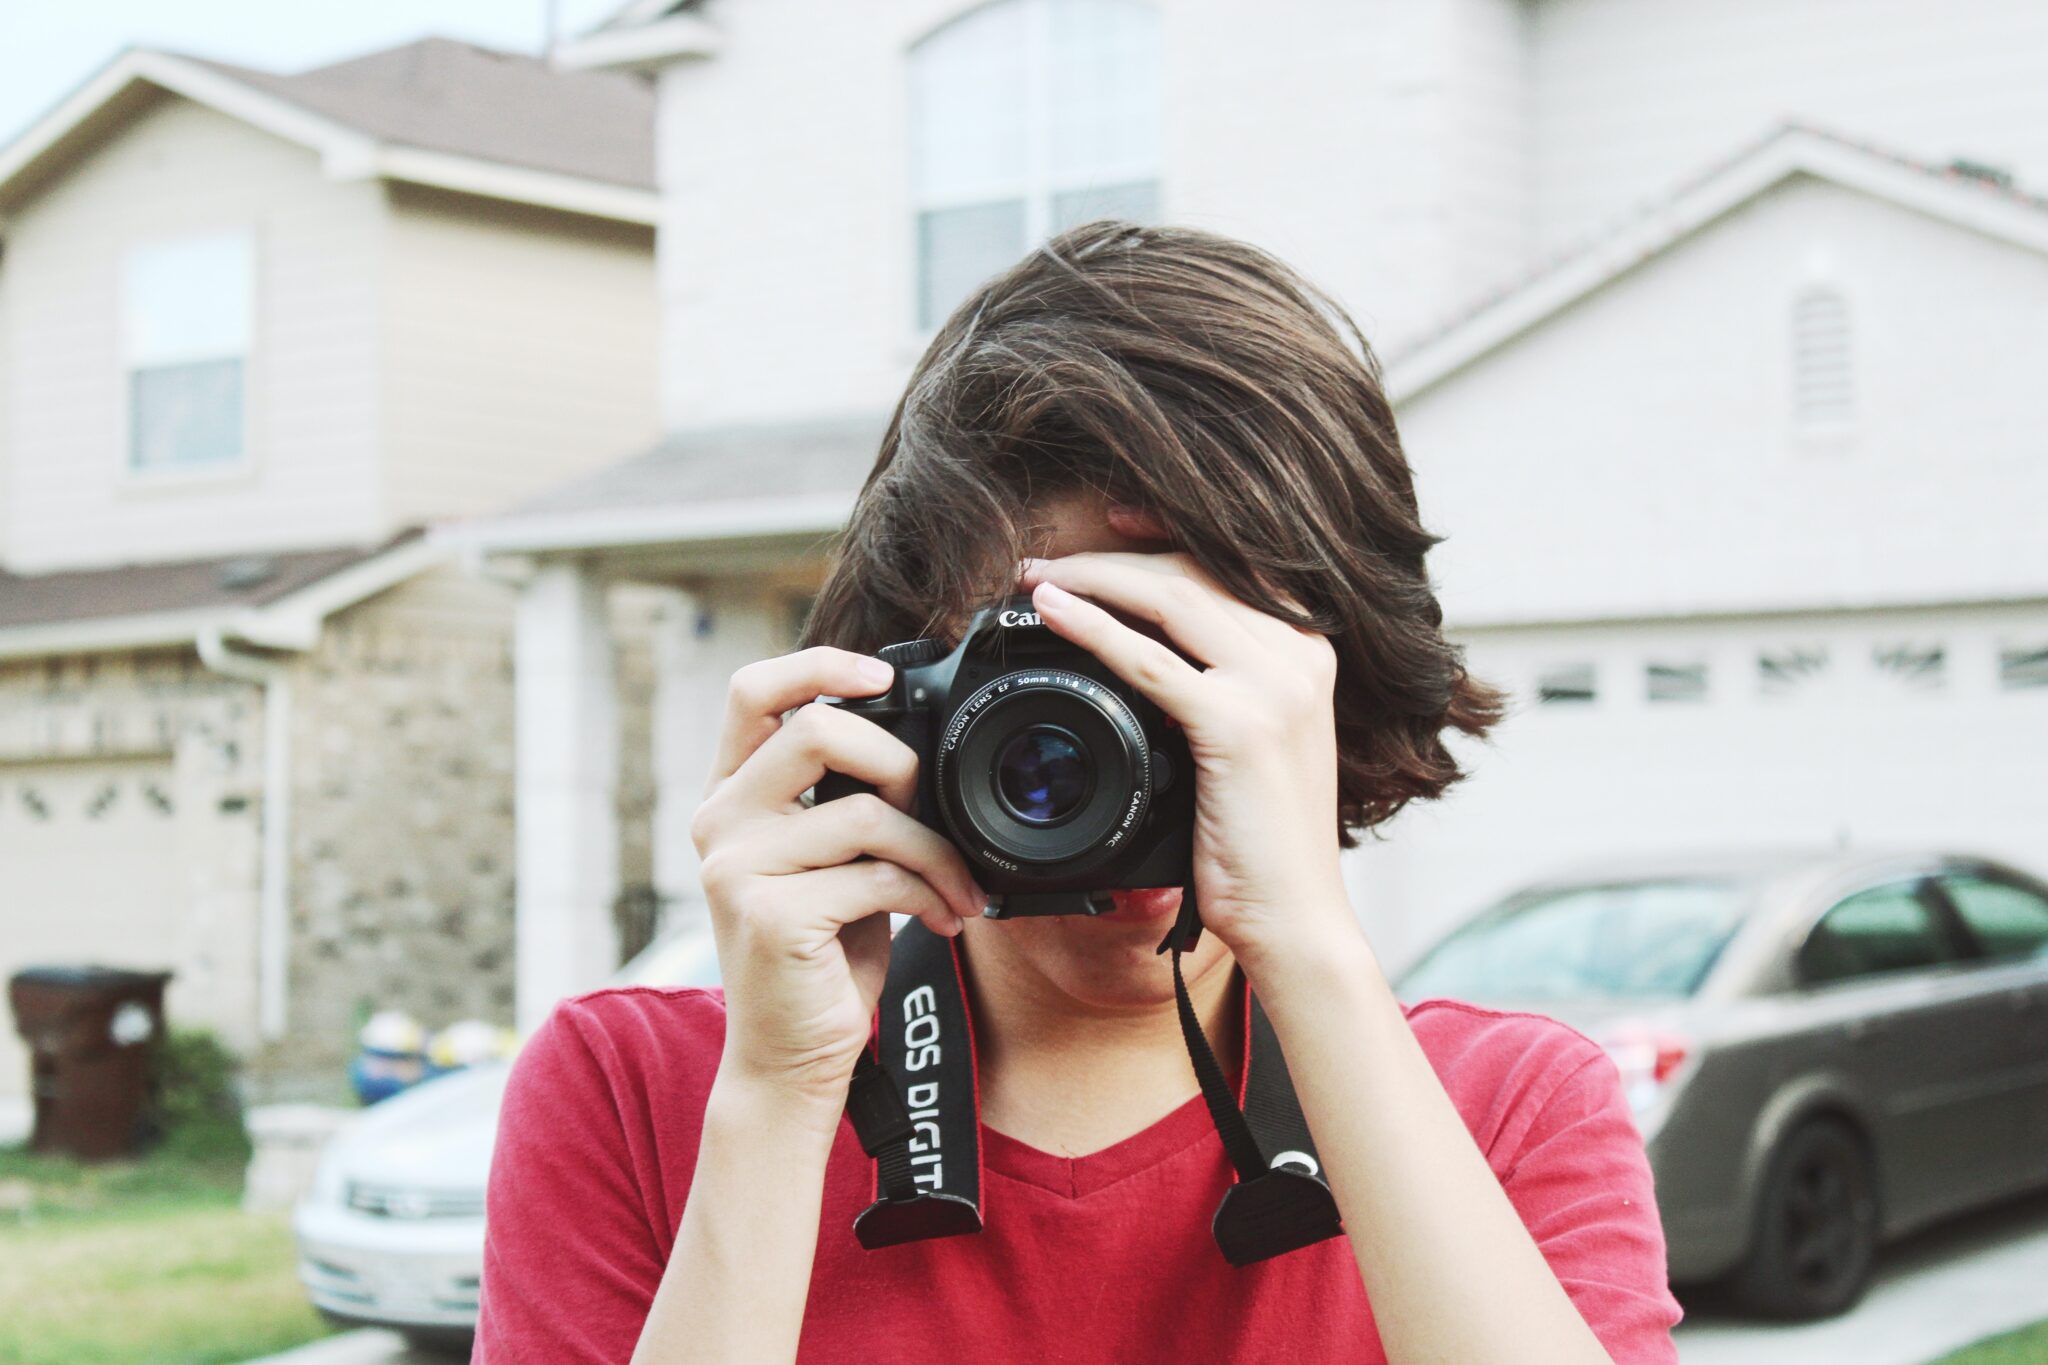
A lot of those posts will also note the importance of photographing the accident scene. The question is, what’s the best way to do that? Keep reading to find out.
Stick to the basics
To begin with, it is important to note that you should not try to photograph the scene if you are injured or if it is unsafe .
If you can take pictures without further jeopardizing your health or safety, here are a couple of things to think about . First, using the camera on your cell phone/smartphone is perfectly acceptable. In fact, any point-and-shoot camera equipped with a flash and date stamp feature will work. If your camera is equipped with the latter, make sure it is on when you are documenting the accident scene. Secondly, don’t stress about aesthetics. You are taking these pictures for documentary purposes, not for artistic purposes.
That being stated there is an “art” to taking evidentiary accident pictures.
Take general and detailed photographs
There are two goals or objectives when photographing an accident scene. One is to capture the overall scene . You can do this by taking photos of the relevant area from several different angles. Each shot should show the location of your vehicle and any others involved in relation to one another, to the roadway, and any other pertinent objects. A useful technique is to choose one marker (such as a tree, building or any other fixed object) that can be seen from each angle and keep it in each photo to show distance and scale. Once you have captured the overall scene, concentrate on taking detailed photos.
Get shots of:
- The damage to each vehicle, including but not limited to dents, scrapes, and broken glass. While you are at it, don’t forget to take pictures of any interior damages, too.
- Other property damage, such as street signs, trees, guardrails, and so on.
- Any relevant traffic control devices, such as traffic lights, stop signs, yield signs, double yellow lines on the roadway, etc.
- Road conditions, including any skid marks and debris resulting from the accident.
- Any evidence of weather conditions, such as snow, ice or wet pavements.
Additional considerations
It is also advisable to photograph your own injuries. However, you should not attempt to take pictures of anyone else who was hurt in the accident, especially if you do not have their permission. The same goes for witnesses. Do not take their pictures without their consent. This just saves a lot of aggravation in the long run.Finally, you should take pictures of the other driver’s license, license plate and registration – just in case you need it for future verification.
The personal injury lawyers at LawPLA are here for you
If you are struggling to cope with injuries sustained in an accident caused by someone else, you may be thinking about consulting a Los Angeles personal injury lawyer. In that case, look no further. Our personal injury attorneys are here to help you understand your legal options, and fight to secure a fair outcome if you have a viable case. The first step in the process is scheduling a free consultation by using the contact page on our website, or giving us a call. We’ll take it from there.


